 Sneaker Restoration : The Nike KD 6
Today we are taking a break from shoe design. We are going to look at some sneaker restoration tips and tricks. The crew here at the Sneaker Factory is always looking out for collectable shoes. While we don’t have any rare OG Nikes, we do keep our eyes open for collecting and restoration opportunities.
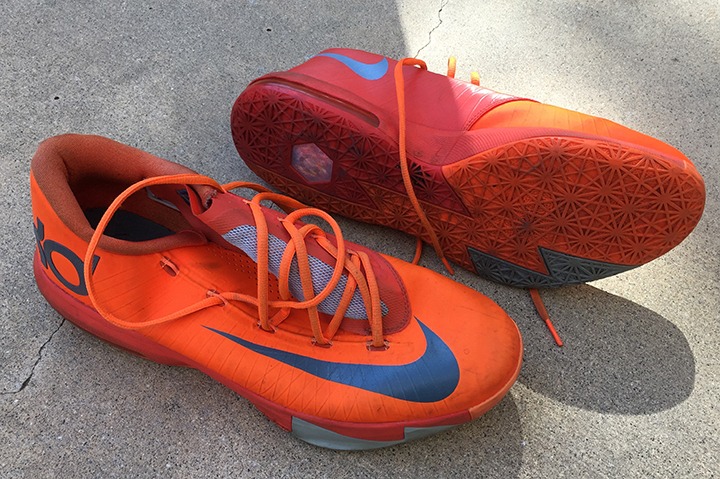
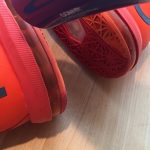
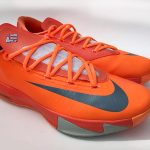
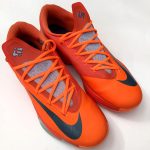
 In the workshop, we have a pair of Nike KD VI Kevin Durant’s from 2013. Normally we would be cutting into these to show you the Nike Zoom air midsole and laminated fly knit reinforcements, but these are looking more like a diamond in the rough, ready for a good clean, and a quick flip. We picked these up for $10.00 at the Alpine Village swap meet in Torrance, California. Let’s see if we can restore these into sellable kicks.
Sneaker Restoration: Is the shoe worthy?
 Here are some questions to consider. Is the shoe worth any restoration effort? Is the shoe valuable as a collector’s item for reselling? Is the shoe valuable to you because you like it? In this case, we know the Nike KD VI is worth $50.00 at the most if it’s in good condition. Not big bucks but why not give it a roll as a basic sneaker restoration project.
Sneaker Restoration Step One: Assessment
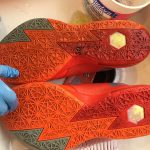
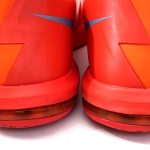
 This pair of Nikes is pretty dirty, but besides the dirt, we can see the shoe is in nearly new condition. The bottom sole unit is showing minimal wear. Just a tiny amount of wear on the heel. Rubber outsoles are difficult to “rebuild” unless you plan to replace them. Sneaker sole replacement is major surgery and not worth the effort for most shoes.
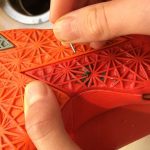
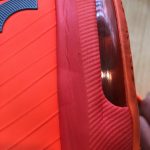
The upper material of this KD VI Orange is made of PU and welded TPU. If the surface is not scratched up the dirt should come right off. For fabric and leather uppers you will need to study the shoe. Stains, cuts, and tears can be difficult to restore.
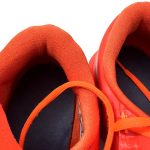
Linings can be soiled and pilled; these problems are not difficult to repair. Torn linings will be a problem requiring surgery. Our shoe is dirty with some pilling, not bad.
Shoelaces? Unless they are a custom pattern, you may toss them if they are worn or don’t come clean. Pick up a fresh pair for a few dollars.
Sneaker Restoration Step Two: Cleaning
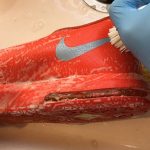
Our Kevin Durant’s are made of PU and welded TPU. They don’t have any leather so they can go right into the sink for a hot, soapy scrub. A stiff bristle brush, green scrubbing pad, and a nail to clean rocks out of the tread is all you will need. Question: Can you put the shoes in a cloths washing machine? Yes! But remove the laces, so they don’t tangle. If the shoes have any real leather or suede, then you should NOT use the washing machine.
Remove the laces and put them in a bowl of hot water and soap. Give the shoes a good scrub. I like to work on one side at a time, so I can compare the results. If the shoes are made of suede leather, go easy on the water but do your best to brush out the dirt. Take your time getting the shoes clean; you cannot restore a dirty shoe!
Sneaker Restoration Step Two: Drying and reshaping
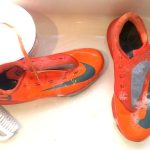
Once you have cleaned the shoes, you need to dry them and reset the shape. I like to use some clean dish towels. The towels will do two things; absorb water and help fix the shape as the shoes dry. Work the towels down into the toe area, not too much pressure, just get the shape right. I use a fan to dry the shoes, no heat. After an hour replace the towels with dry ones. Leave the shoes overnight with a fan blowing right on them, and they should be dry inside and out by morning.
Sneaker Restoration Step Three: Finishing
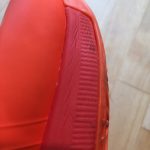
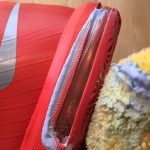
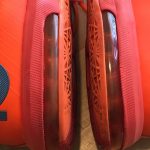
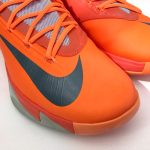
In this case; we don’t need to do any painting, we will cover that later. Our KD’s have two very typical problems. The airbags are a little cloudy, and the EVA midsoles have some wrinkles. First, we will tackle the airbags. Try using a hair dryer, get close to the airbag and work the dryer left to right. Not too close! You don’t want to melt the plastic. Make a few passes to see if the clarity improves. I also like to use a little RainX™ or auto headlight defogger. Give the surface a good polish; this will improve the surface. In this case, we improved the airbags but not 100%. Keep the hair dryer close by; you will need it to restore the midsole.
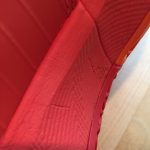
For a midsole with compression wrinkles, the hair dryer is an excellent tool to improve the finish. Like you did with the airbag, get close and work the dryer over the wrinkles. The heat softens the EVA plastic and re-expands the collapsed air bubbles in the foam structure. You will see the results in just a few minutes.
Take a minute to remove any sock lint from inside the heel lining. To remove these little balls use a disposable razor, lint remover, or tiny hair trimmers. (You can find small trimmers at CVS™- they work like a champ!)
Sneaker Restoration Step Four: Presentation
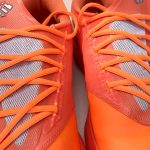
If you plan to sell your restored shoes, take some time to re-lace them carefully. Make sure the laces are flat, smooth, clean, even, and don’t twist. Shoelace fuzz and any loose threads can be removed with the small flame of a lighter. Next, get a clean, white sheet of paper to use as a base and shoot your photos outdoors.
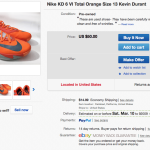
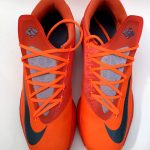
Check them out on Ebay – US Size 13